P0201 Code: Injector Circuit Malfunction (Cylinder 1) | Expert Diagnosis & Fix Guide

P0201 Code: Injector Circuit Malfunction (Cylinder 1)
Published: August 17, 2025Fix P0201 cylinder 1 injector issues with expert guidance. Learn diagnosis techniques using the iCarzone UR1000, common causes, and step-by-step repair solutions.
Diagnose P0201 With UR1000 →1. What is the P0201 Code?
The P0201 diagnostic trouble code indicates a "Fuel Injector Circuit Malfunction - Cylinder 1". This code specifically identifies an electrical issue in the circuit that controls the fuel injector for cylinder #1 in your engine.
Fuel Injector Circuit Basics
Fuel injectors are electro-mechanical valves that deliver precise amounts of fuel into the engine's combustion chambers. Each injector is controlled by the Engine Control Module (ECM) through a dedicated electrical circuit that includes: Injector Solenoid: Converts electrical signals to mechanical movement Wiring Harness: Connects the ECM to the injector ECM Driver Circuit: Controls injector opening/closing timing and duration Power Supply: Provides voltage to the injector (usually 12V)
How the ECM Detects P0201
The ECM monitors injector circuit performance by measuring: Voltage drop across the injector during operation Current flow through the injector solenoid Response time when the injector is activated Resistance of the injector coil
P0201 is triggered when the ECM detects abnormal readings in cylinder 1's injector circuit for two or more consecutive drive cycles. This typically indicates an open circuit, short circuit, or resistance outside the manufacturer's specified range (usually 11-15 ohms for most injectors).

2. Why Does P0201 Happen? Common Culprits
P0201 is an electrical circuit issue specific to cylinder 1's injector. Here's a detailed breakdown of the most common causes, based on repair data and technical service bulletins:
Wiring Issues (42% of Cases)
Damaged wiring is the leading cause of P0201, especially in vehicles over 5 years old: Broken Wires: Flexing from engine movement can fatigue wires, especially near injector connectors and ECM plugs Corroded Connectors: Moisture intrusion causes corrosion, increasing resistance in the circuit Pin Damage: Bent or pushed-back pins in connectors create intermittent connections Chafed Insulation: Wires rubbing against engine components can short to ground
Case Study: A 2016 Toyota Camry with 95,000 miles presented with P0201 and rough idle. Inspection revealed a broken wire in the injector harness where it passed over the intake manifold. The wire had developed a fatigue crack from years of engine vibration.Injector Solenoid Failure (35% of Cases)
- Open Coil: Internal wire breakage creates an open circuit (infinite resistance)
- Short Circuit: Insulation breakdown within the coil causes shorted windings (resistance below 5 ohms)
- Partial Failure: Degraded windings cause resistance outside the 11-15 ohm specification
- Connector Damage: Broken plastic tabs or corroded terminals at the injector
ECM Issues (12% of Cases)
- Failed Driver Circuit: The ECM's internal transistor controlling cylinder 1 injector has failed
- Software Glitches: Rare, but ECM calibration errors can misinterpret injector circuit data
- Power Supply Problems: Failed capacitors or voltage regulators in the ECM affect injector control
Other Causes (11% of Cases)
- Fuel Injector Connector Issues: Loose or improperly seated connectors
- Aftermarket Modifications: Incorrectly installed performance injectors or wiring
- Previous Repair Errors: Damaged wiring during prior engine work
- Rodent Damage: Chewed wires, especially in vehicles stored outdoors

3. How to Spot P0201 Symptoms
P0201 symptoms vary based on the severity of the circuit issue, from mild misfires to complete cylinder shutdown:
Mild Symptoms (Early Stage)
- Illuminated Check Engine Light – Often the first sign, with P0201 stored in memory
- Intermittent Rough Idle – Engine shakes slightly when stopped, especially when cold
- Slight Power Loss – Noticeable only during acceleration or heavy loads
- Minor Fuel Economy Drop – 1-2 MPG reduction due to incomplete combustion
Moderate Symptoms (Developed Stage)
- Persistent Misfire – Engine runs roughly at all speeds, with noticeable vibration
- hesitation During Acceleration – Lag when pressing the gas pedal
- Increased Emissions – Failed smog tests due to unburned fuel in exhaust
- Smell of Unburned Fuel – Especially noticeable from the exhaust
Severe Symptoms (Advanced Stage)
- Complete Cylinder 1 Shutdown – ECM disables the injector to prevent damage
- Significant Power Loss – Engine runs on remaining cylinders only
- Catalytic Converter Overheating – Unburned fuel ignites in the exhaust system
- Secondary Codes – P0301 (cylinder 1 misfire) often accompanies P0201
- Stalling – Especially at idle or low speeds
4. Vehicles Most Likely to Get P0201
Certain vehicles develop P0201 more frequently due to injector circuit design, wiring harness routing, and operating conditions:
Domestic Models
- Ford F-150 (2011-2020) – 3.5L EcoBoost models experience wiring harness issues where it contacts the intake manifold. TSB 18-234 addresses updated harness routing.
- Chevrolet Silverado (2014-2019) – 5.3L V8 engines have injector connectors prone to corrosion in humid climates.
- Dodge Ram 1500 (2013-2020) – 3.6L V6 models suffer from injector wiring fatigue near the ECM connector.
Import Models
- Toyota Camry (2012-2017) – 2.5L four-cylinder engines have injector harnesses vulnerable to heat damage from the exhaust manifold.
- Honda Accord (2013-2017) – 2.4L models experience water intrusion in injector connectors, especially in northern climates with road salt.
- Volkswagen Golf/Jetta (2015-2020) – 1.8T engines have been recalled for injector wiring issues that can cause P0201 and other cylinder codes.
Common Design Factors
Vehicles prone to P0201 typically share these characteristics: Injector wiring routed near heat sources (exhaust manifold, turbocharger) Plastic injector connectors without proper sealing against moisture Long wiring runs from ECM to cylinder 1 (often the furthest cylinder) Engine mounts that allow excessive movement, stressing wiring harnesses High operating temperatures that accelerate wire insulation degradation
5. DIY Diagnosis Steps (With UR1000)
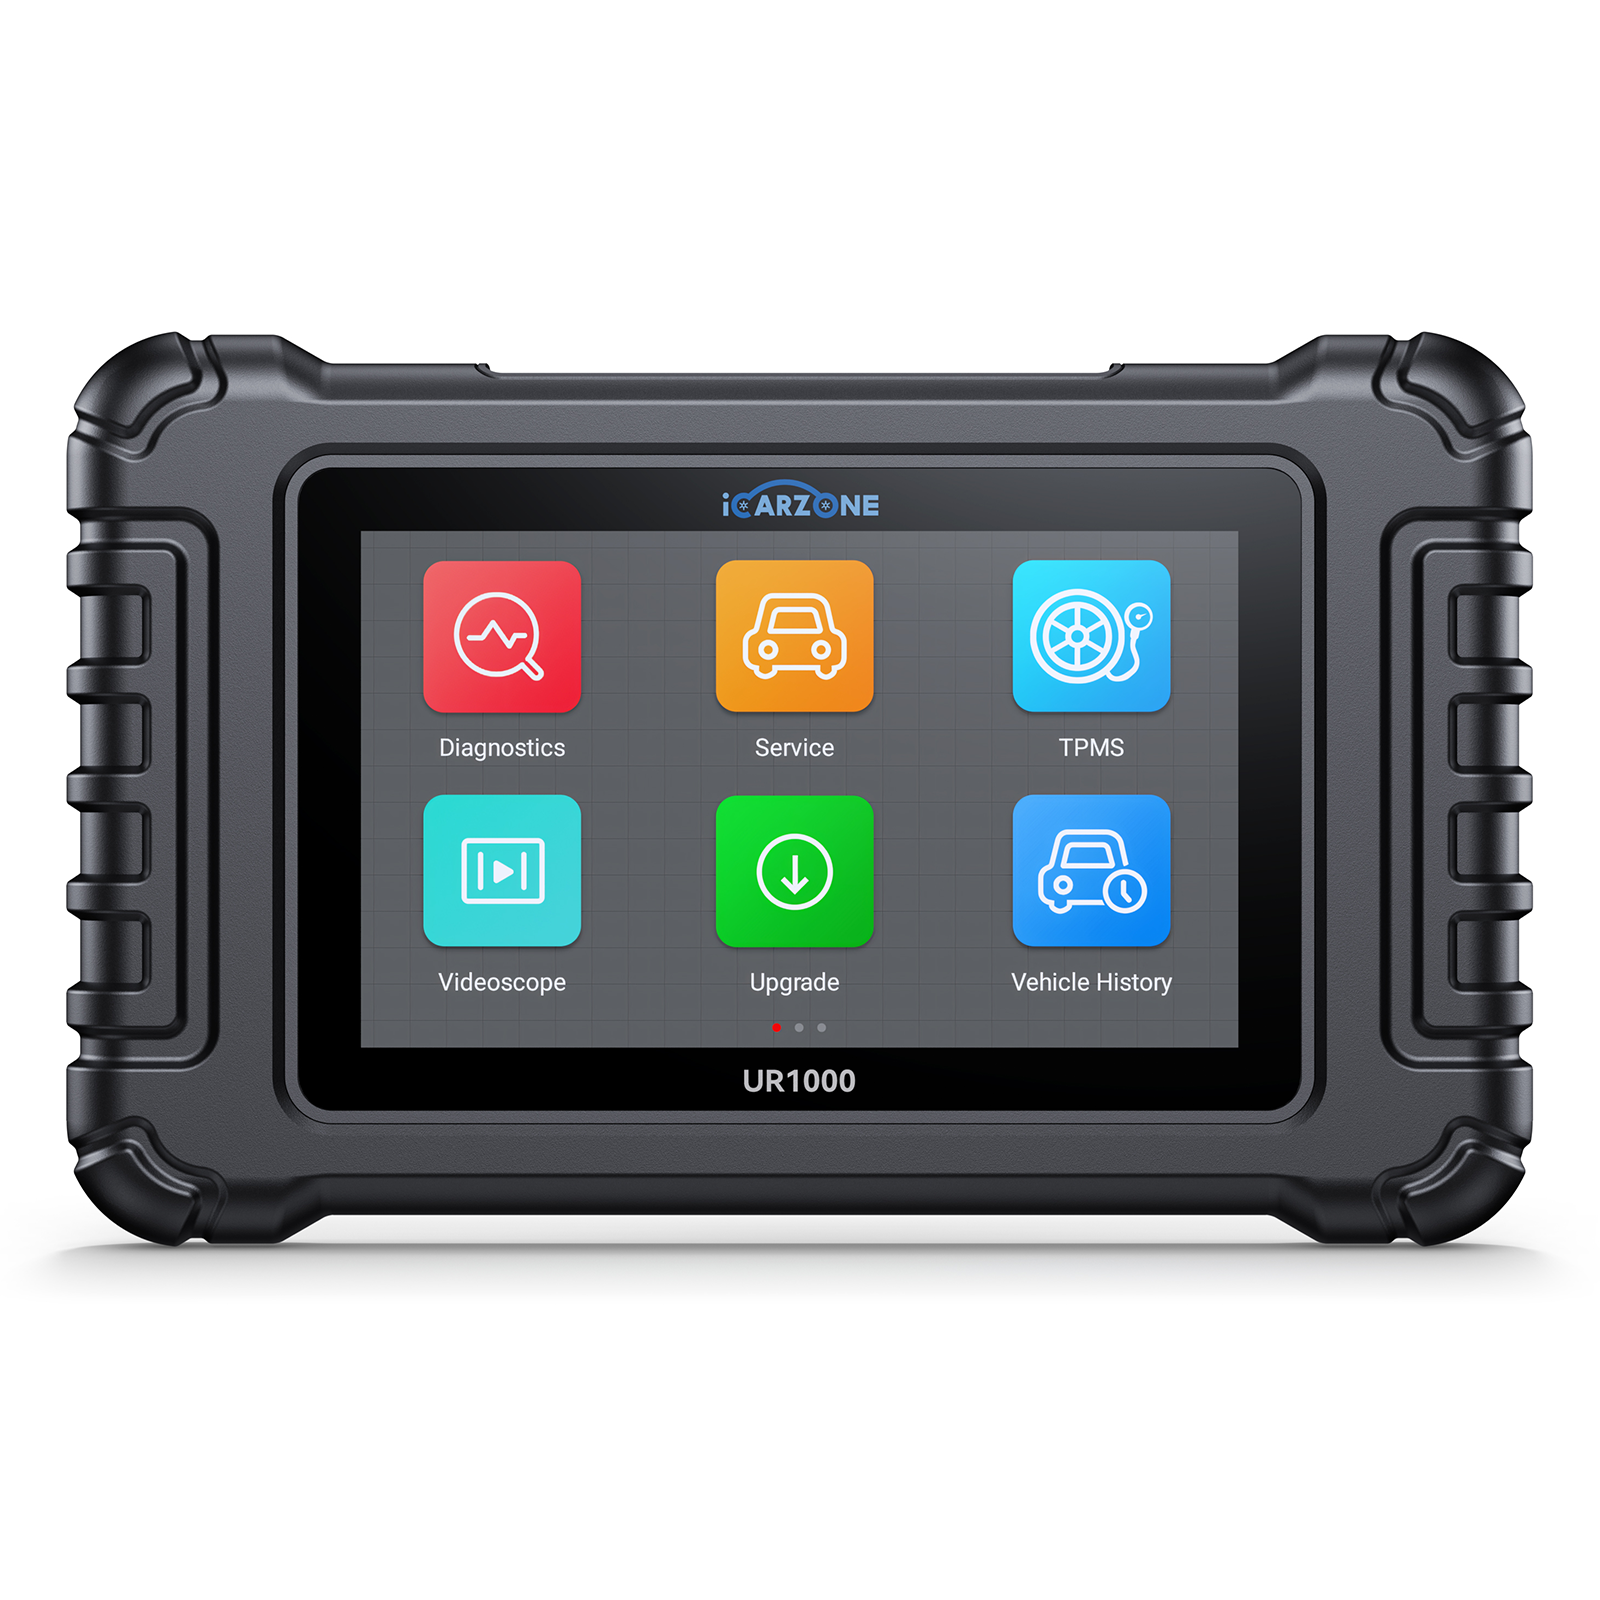
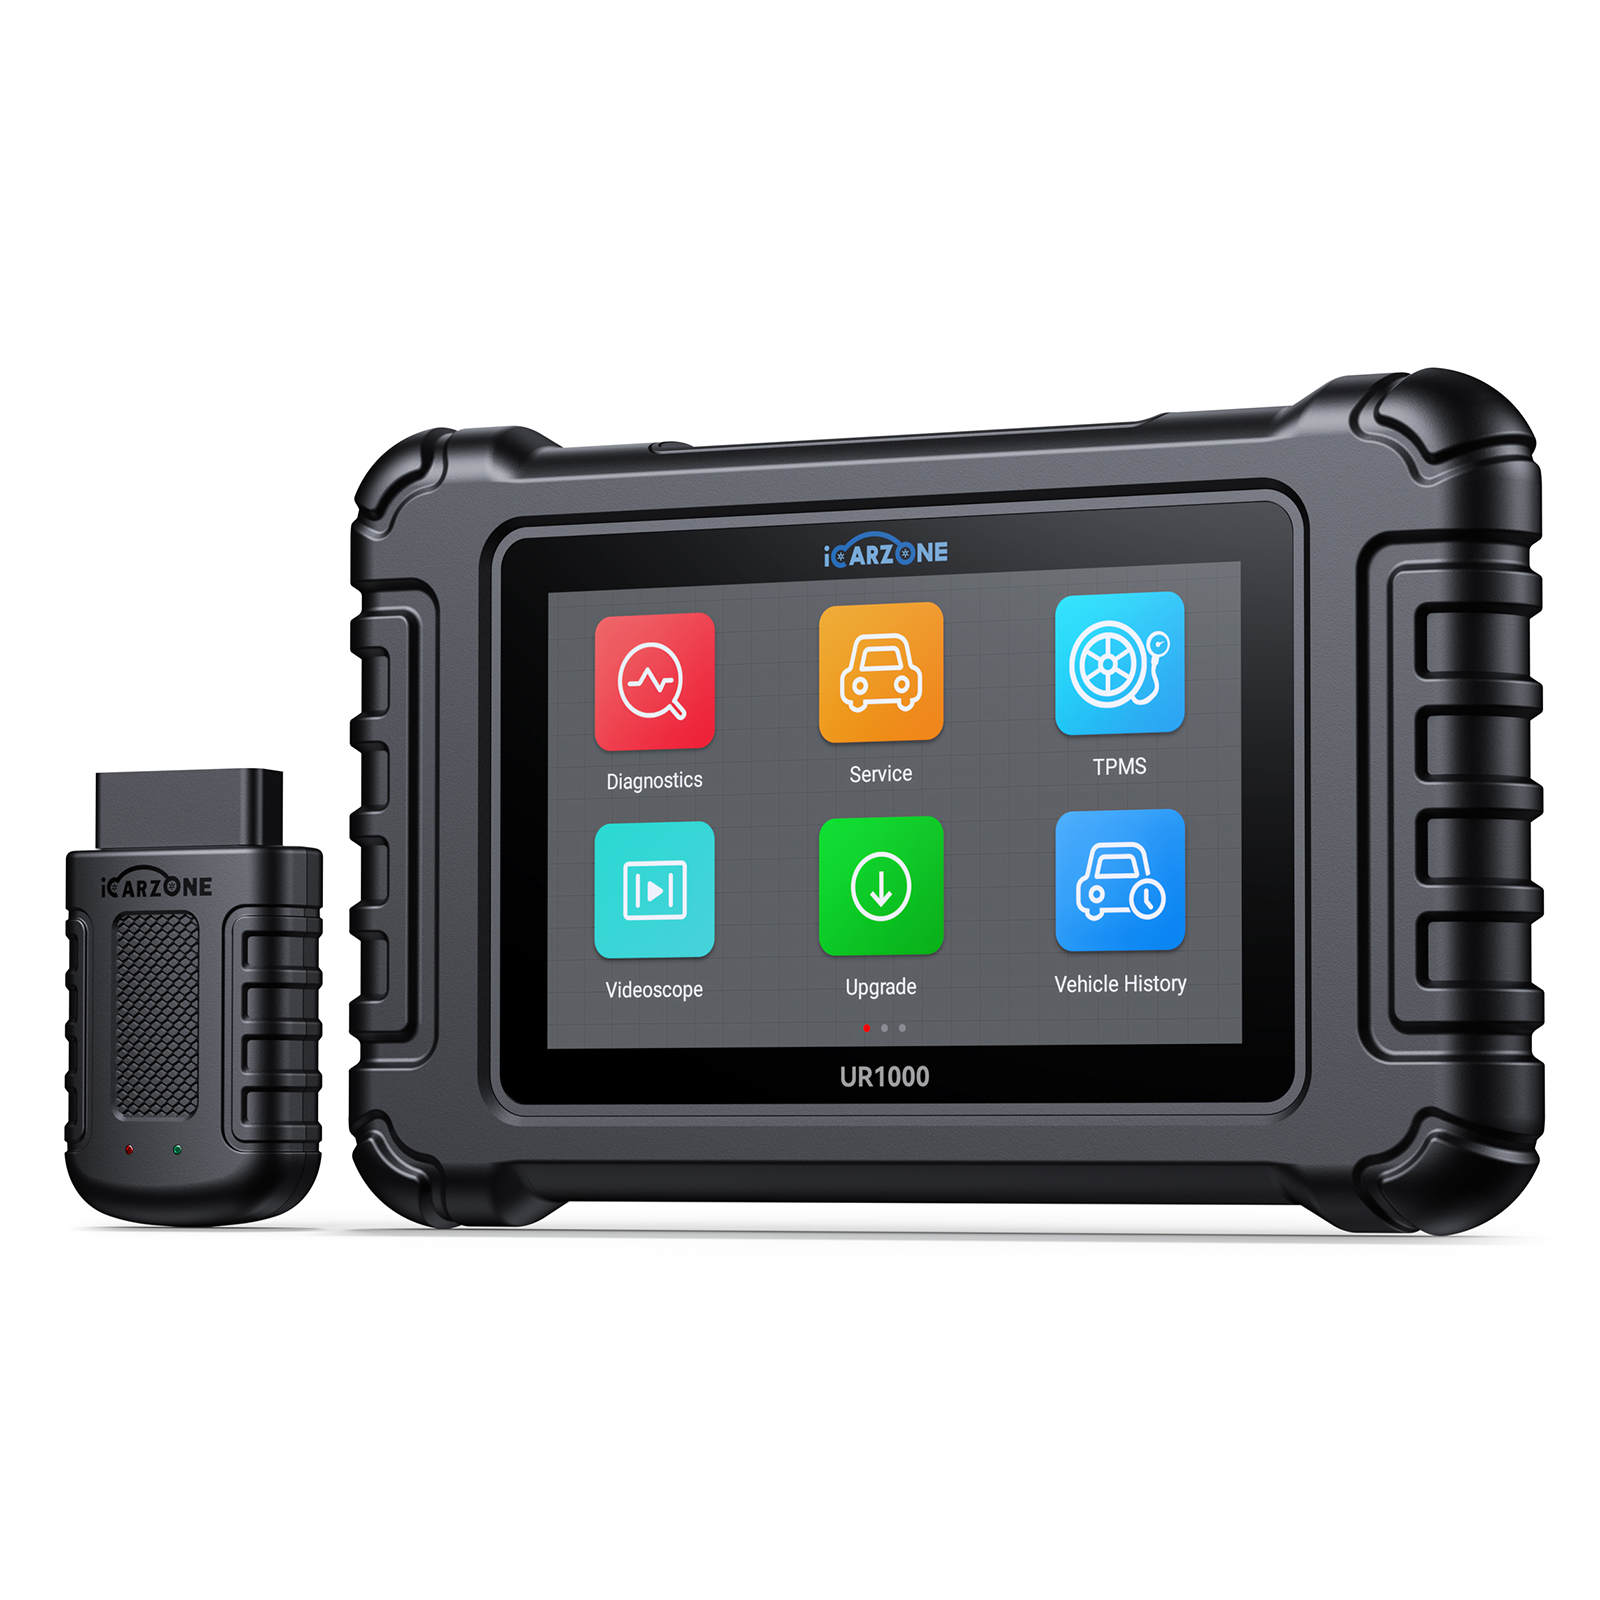
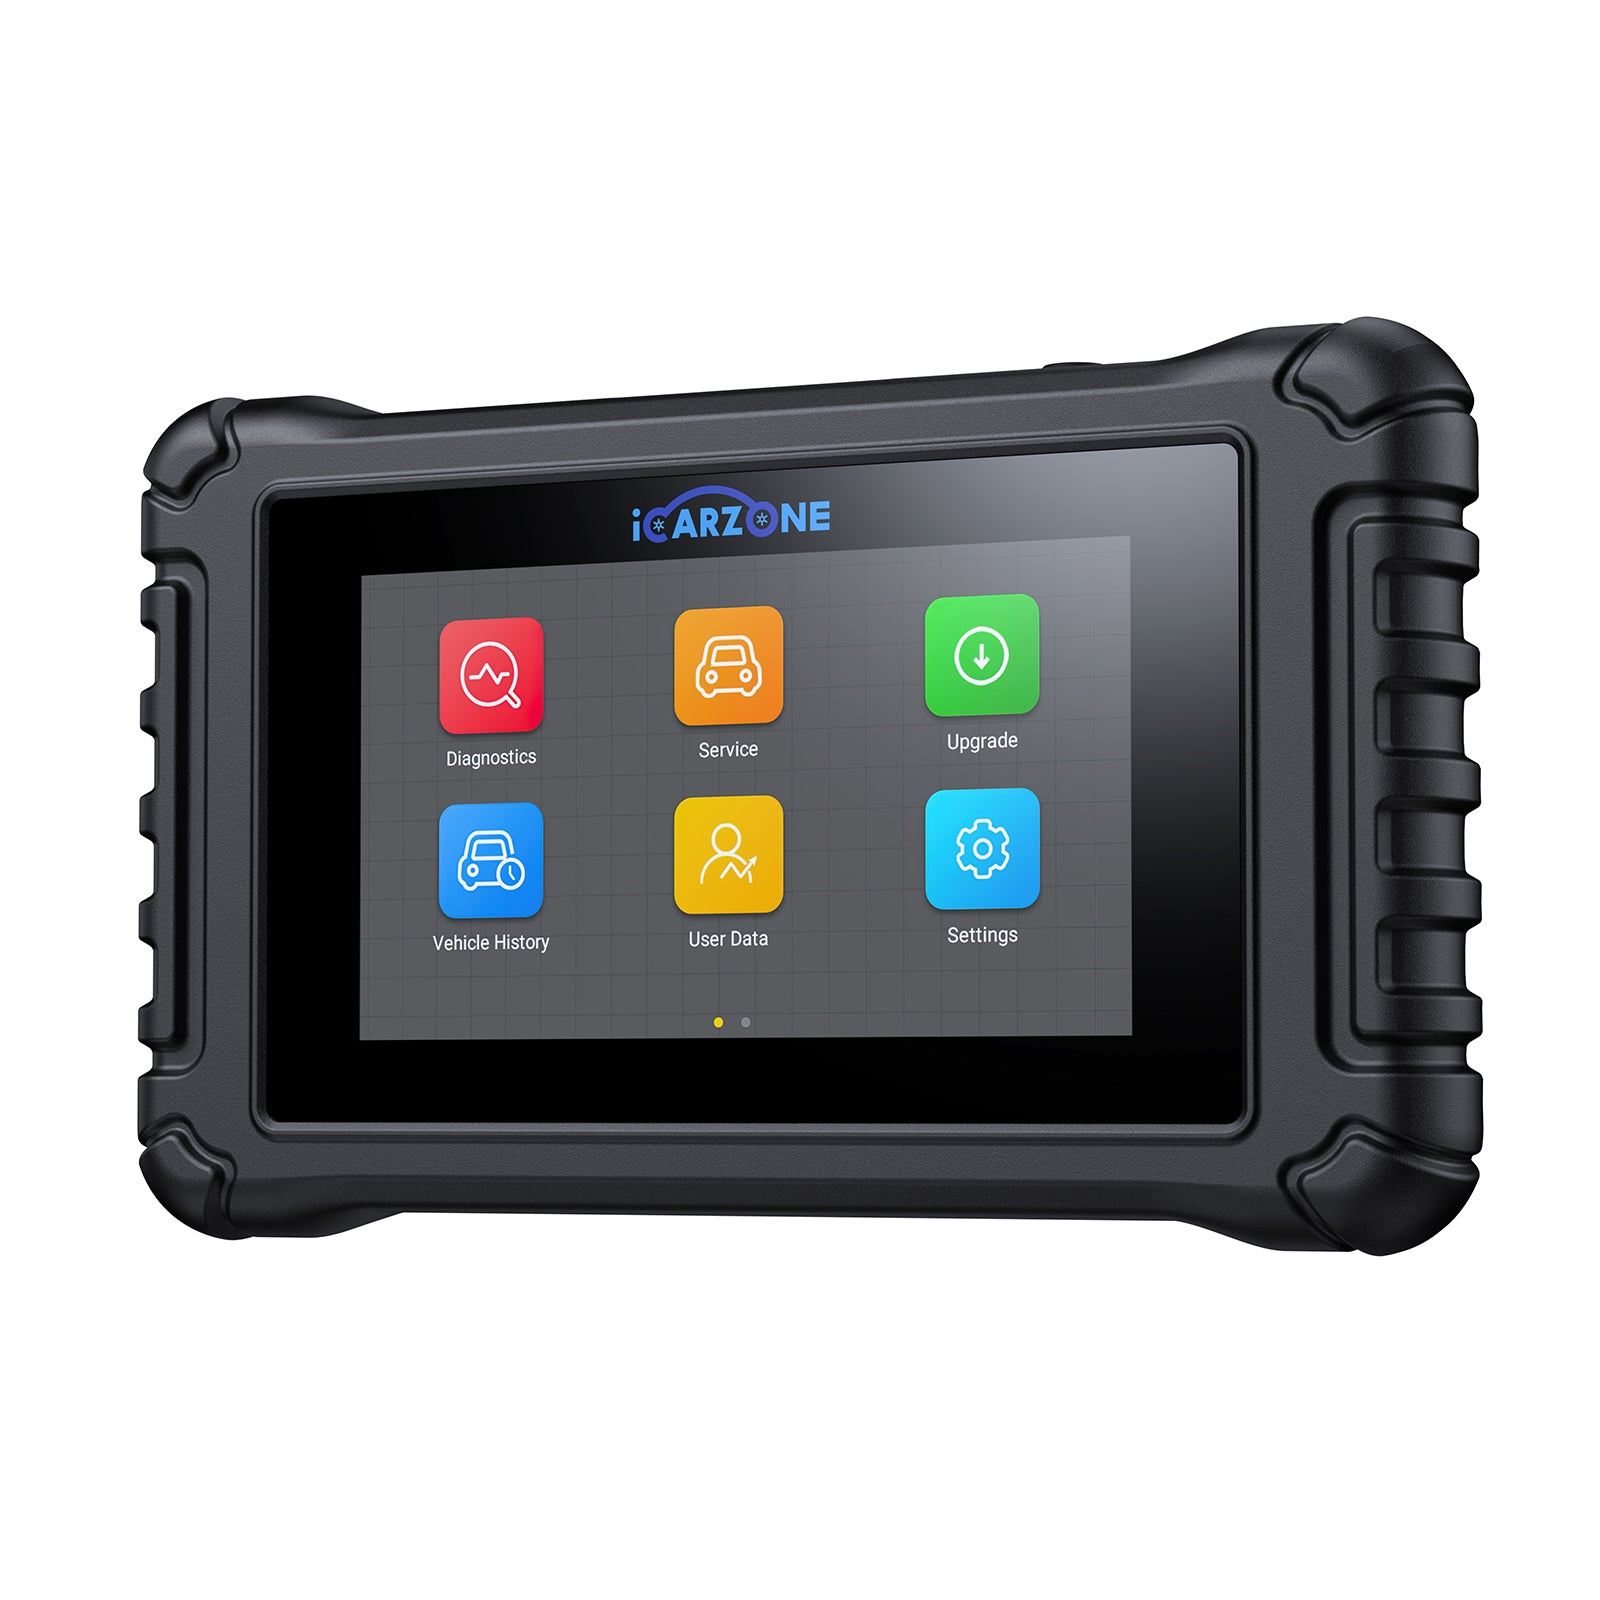
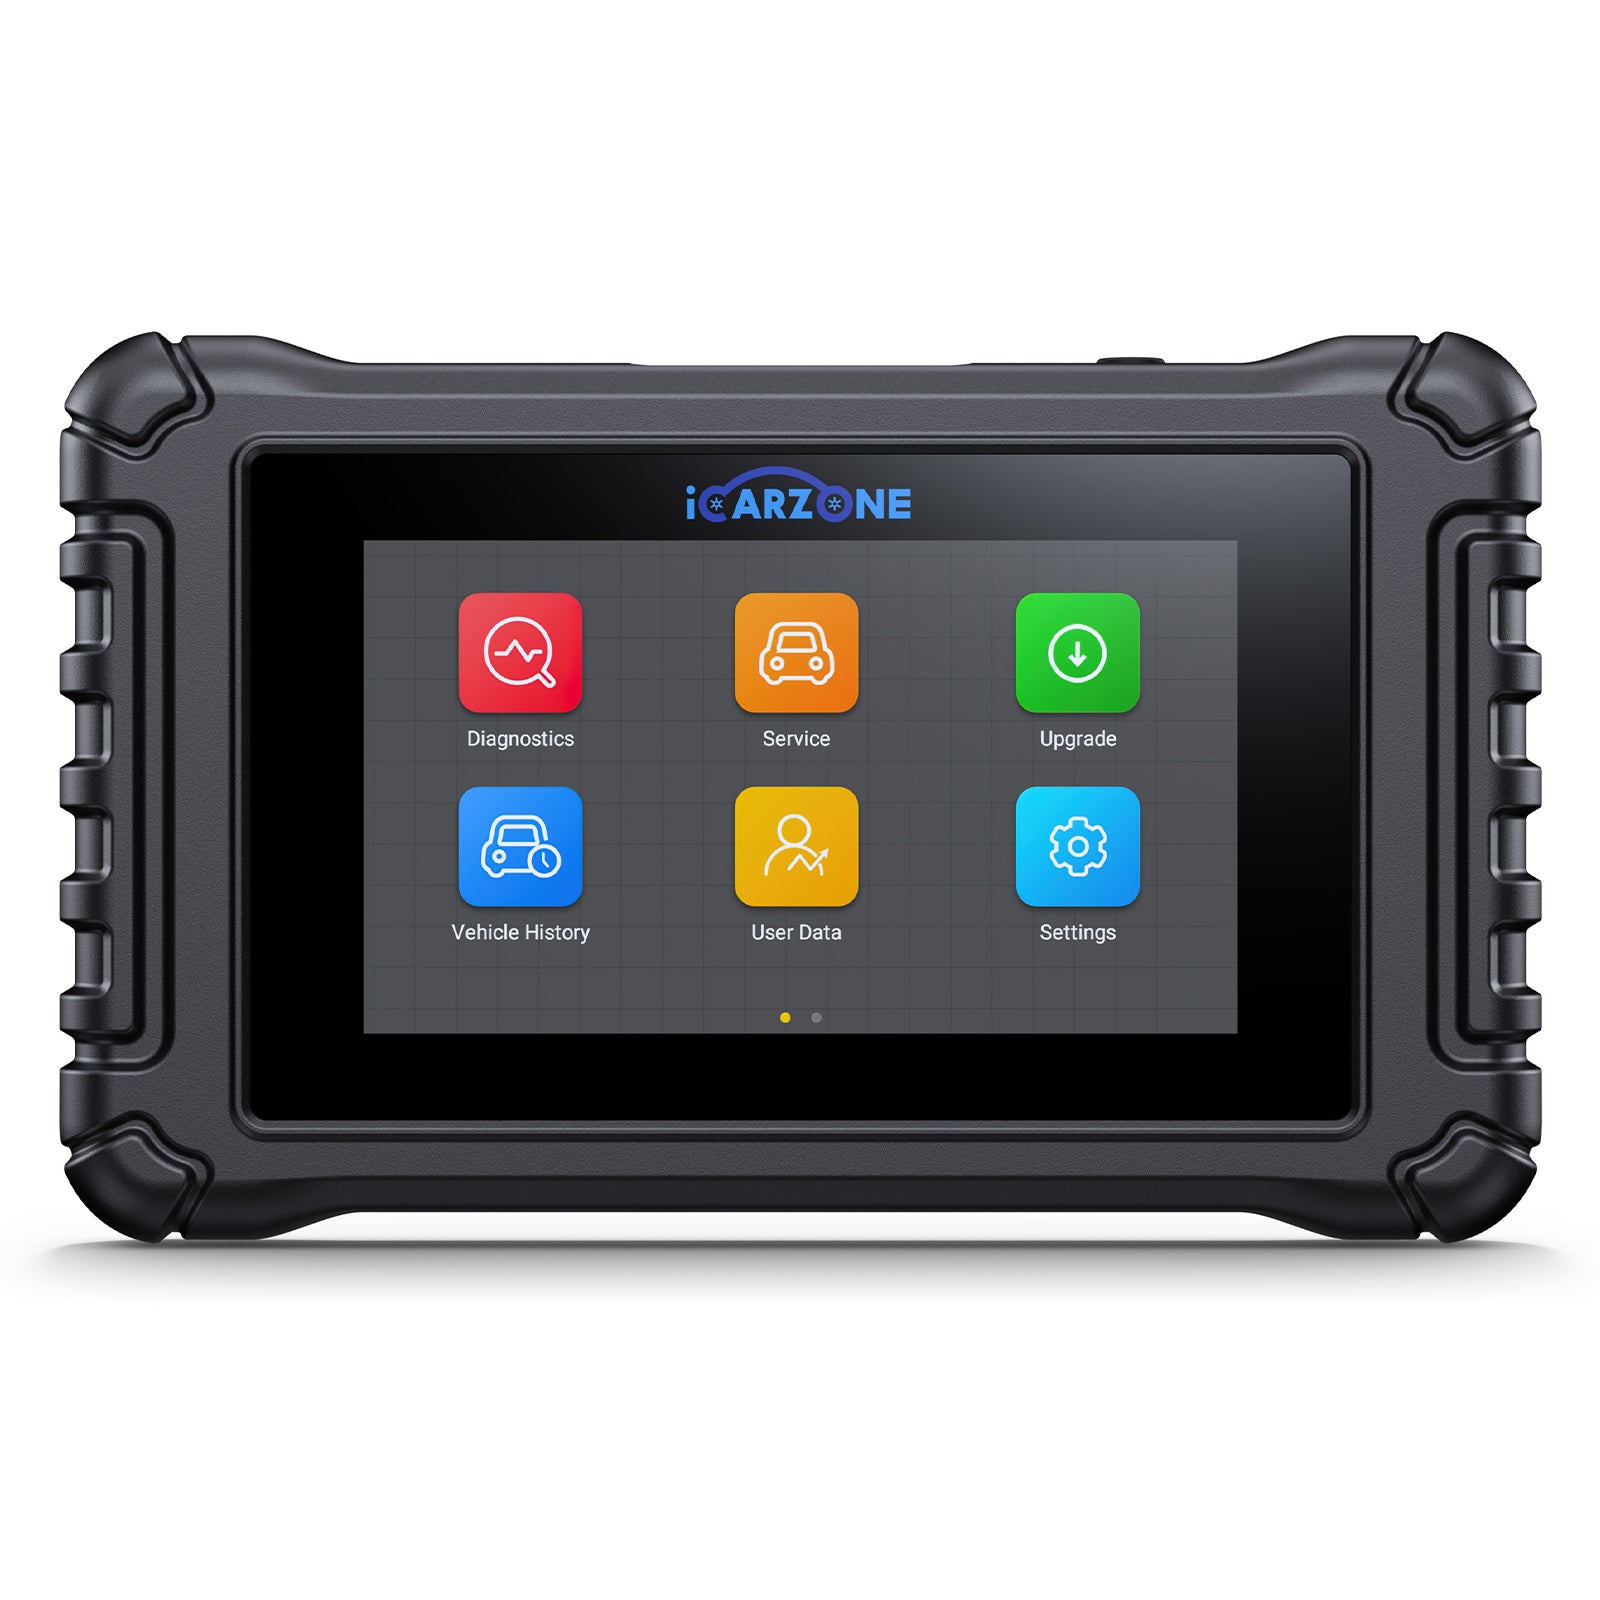
Accurate diagnosis of P0201 requires systematic electrical testing and injector circuit analysis. The iCarzone UR1000 provides critical data to identify whether the issue is in the injector, wiring, or ECM.
Stage 1: Initial Data Collection (15 minutes)
- Connect UR1000 Scanner – Plug into OBD-II port and power on. Select your vehicle make/model/year.
- Read Complete DTC History – Record P0201 and any related codes (especially P0301 misfire code).
- Check Freeze Frame Data – Note conditions when the code was set (RPM, load, temperature).
- Monitor Live Data – With engine running at idle, observe: Injector pulse width for cylinder 1 Misfire counts per cylinder Short/long term fuel trim values Engine coolant temperature
Stage 2: Injector Circuit Tests (30 minutes)
- Injector Actuation Test: Use UR1000's "Actuation Tests" menu to command cylinder 1 injector Listen for distinct clicking sound from the injector (use a mechanic's stethoscope for clarity) Compare sound to other cylinders (should be identical) No click indicates a potential open circuit or failed injector
- Resistance Testing: Disconnect battery negative terminal Locate cylinder 1 injector and disconnect electrical connector Set multimeter to ohms setting Measure resistance across injector terminals (typically 11-15 ohms) Infinite resistance = open circuit; Low resistance (<5 ohms) = short circuit
- Voltage Drop Testing: Reconnect battery and start engine Set multimeter to volts (DC) Measure voltage drop across injector connector while engine runs Healthy circuit shows 0.5-1.0V drop during injection events Higher readings indicate high resistance in the circuit
Stage 3: Wiring and Connector Inspection (45 minutes)
- Visual Inspection: Trace wiring from injector to ECM, checking for: Damaged insulation Corroded connectors Pinched or crushed sections Rodent damage Improper routing (rubbing against metal)
- Connector Testing: Disconnect injector connector and ECM connector (if accessible) Inspect pins for corrosion, bending, or pushed-back terminals Use a pin gauge to check for loose terminal fit Clean connectors with electrical contact cleaner if corrosion is present
- Continuity Testing: Disconnect battery Test continuity between injector connector and ECM connector Resistance should be less than 0.5 ohms Infinite resistance indicates a broken wire
| Condition | UR1000 Data Indicators | Physical Inspection Findings |
|---|---|---|
| Injector Solenoid Failure | No response to actuation test, abnormal resistance | Resistance outside 11-15 ohms, no clicking sound |
| Wiring Break | Intermittent misfires, no injector signal | Broken wire, infinite continuity, no voltage |
| Corroded Connector | Fluctuating resistance, occasional misfires | Green/white corrosion, loose pins, high resistance |
| ECM Driver Failure | No injector pulse detected, other cylinders normal | All wiring tests pass, injector tests pass |
6. How to Fix P0201: Step-by-Step Solutions
The appropriate repair method depends on your diagnosis findings. Below are detailed procedures for each common fix:
Wiring Repair Procedure
For broken, chafed, or corroded wiring (most common P0201 fix):
- Safety Preparation: Disconnect negative battery terminal Relieve fuel pressure according to vehicle specifications Gather supplies: wiring repair kit, heat-shrink tubing, electrical tape, soldering iron (optional)
- Identify Damaged Section: Locate exact point of damage using continuity testing Mark 1-2 inches beyond damaged area on both sides
- Wire Preparation: Cut damaged section of wire with wire cutters Strip 1/4 inch of insulation from both ends of remaining wires Twist exposed copper strands tightly
- Repair Connection: Option 1 (Crimp): Use heat-shrink butt connectors, crimp with proper tool Option 2 (Solder): Solder connection and cover with heat-shrink tubing Apply heat to shrink tubing (use heat gun, not open flame)
- Protection: Wrap repaired area with electrical tape Secure wire to prevent future movement/rubbing Use wire loom or split sleeve for additional protection
- Verification: Test continuity (should show <0.5 ohms) Check for short circuits to ground Reconnect battery and test with UR1000
Injector Replacement Procedure
For failed injector solenoid or mechanical injector issues:
- Preparation: Disconnect negative battery terminal Relieve fuel pressure Remove engine cover (if equipped) Allow engine to cool completely
- Access Cylinder 1 Injector: Locate cylinder 1 (consult service manual for your engine) Remove any components blocking access (air intake, fuel rails) Disconnect fuel rail if necessary (label hoses/connections)
- Injector Removal: Disconnect electrical connector (press tab and pull straight back) Remove retaining clip or bolts securing injector Carefully pull injector straight out (may require gentle wiggling) Note orientation for reinstallation
- Installation: Install new O-rings on injector (lubricate with clean engine oil) Insert new injector carefully to avoid damaging O-rings Secure with retaining hardware (torque to specification) Reconnect electrical connector Reinstall fuel rail and any removed components
- System Reset: Reconnect battery terminal Use UR1000 to perform injector balance learn procedure Clear codes and test drive
Connector Repair or Replacement
For damaged injector connectors:
- Connector Removal: Disconnect battery Cut wires 1-2 inches from damaged connector Strip 1/4 inch insulation from wire ends
- New Connector Preparation: Prepare replacement connector (matching terminal type) Crimp or solder terminals to wire ends Secure connections with heat-shrink tubing
- Reinstallation: Plug new connector into injector Secure wiring to prevent strain on connection Test continuity and resistance
ECM Repair or Replacement
For confirmed ECM driver failure (rare but serious):
- Verification: Confirm all other components test good Check for TSBs related to ECM issues for your vehicle
- ECM Options: Option 1: ECM repair service (specialists can replace internal drivers) Option 2: Replacement with remanufactured ECM Option 3: Dealer-installed new ECM
- Programming: New/remanufactured ECMs require programming to your vehicle Use UR1000 or dealer equipment for VIN programming and parameter setup Perform injector balance and idle learn procedures
7. P0201 Repair Costs & Pro Tips
Costs vary significantly based on the repair method and whether you perform the work yourself:
DIY Repair Costs
-
Wiring Repair: $10-30
Includes: Wire, connectors, heat-shrink tubing, electrical tape -
Connector Replacement: $15-40
Includes: Replacement connector, terminals, tools -
Fuel Injector Replacement: $80-300
Depends on: OEM vs. aftermarket injector ($70-280), new O-rings -
Injector Cleaning Service: $15-50
For minor issues: Professional cleaning kit or service
Professional Repair Costs
-
Wiring/Connector Repair: $150-300
Labor: 1-2 hours ($100-200), parts: $50-100 -
Injector Replacement (Pro): $250-500
Labor: 1-2 hours ($100-200), OEM injector: $150-300 -
ECM Repair/Replacement: $400-1,200
Labor: 1-3 hours ($100-300), ECM: $300-900 + programming -
Diagnostic Fee: $80-150
Many shops apply this toward repair cost if work is authorized
Expert Money-Saving Tips
- Always test wiring first – 42% of P0201 cases are fixed with simple wiring repairs, avoiding expensive injector replacement.
- Use OEM or OEM-equivalent injectors – Budget injectors often have inconsistent spray patterns and shorter lifespans.
- Check for TSBs – Some manufacturers extend warranties for known injector circuit issues.
- Consider injector cleaning first – For intermittent P0201, professional ultrasonic cleaning may resolve the issue.
- Prevent future issues – Apply dielectric grease to connectors after repair to prevent corrosion.
- Verify with UR1000 – Confirm repair success with injector balance tests and live data monitoring.
8. How to Prevent P0201 From Coming Back
Preventing P0201 requires protecting the injector circuit from damage and maintaining proper electrical connections:
Regular Inspection Schedule
- Visual Inspections – Every 30,000 miles: Check injector connectors for corrosion Inspect wiring harness for chaffing or damage Verify secure connections at injectors and ECM
- Electrical Testing – Every 60,000 miles: Measure injector resistance (should remain 11-15 ohms) Check for voltage drops in injector circuits Test continuity of wiring harness
- Fuel System Maintenance – Every 30,000 miles: Use quality fuel system cleaner Replace fuel filter according to manufacturer schedule Check fuel pressure to ensure proper injector operation
Protective Measures
- Connector Protection: Apply dielectric grease to injector connectors to repel moisture Install connector covers in high-moisture environments Re-seal connectors after service with silicone sealant if needed
- Wiring Protection: Secure loose wiring with zip ties to prevent movement Add wire loom to sections prone to rubbing Use heat shield sleeves on wiring near hot components
- Environmental Protection: Avoid driving through deep water to prevent connector flooding Wash underhood periodically to remove road salt and debris Park in enclosed spaces when possible to reduce rodent access
Maintenance Tools & Products
- Electrical Maintenance: Electrical contact cleaner (non-corrosive) Dielectric grease (silicone-based) Wire brush for cleaning terminals Heat-shrink tubing assortment
- Fuel System Care: Quality fuel injector cleaner (with PEA) Fuel system treatment every 10,000 miles Premium gasoline (top-tier detergent gasoline)
- Diagnostic Tools: Digital multimeter (auto-ranging) UR1000 scanner for injector balance tests Mechanic's stethoscope for injector sound testing
Monitoring with UR1000
Regularly check these parameters to catch issues before they trigger P0201: Injector pulse width (should be consistent across cylinders) Misfire counts (should remain at zero for all cylinders) Short/long term fuel trim values (should be within ±5%) Injector circuit voltage (should show clean switching pattern)
9. P0201 FAQs
Short distances may be possible, but prolonged driving causes misfires, catalytic converter damage, and increased fuel consumption. Fix promptly.
Only if the injector itself is faulty. 42% of P0201 cases are wiring issues, so test before replacing expensive injectors.
P0201 is an electrical circuit issue; P0301 is a misfire in cylinder 1. P0201 often causes P0301, but P0301 can have other causes.
No. P0201 is strictly an electrical issue with the injector circuit, not related to fuel pressure or delivery volume.
Consult your owner's manual. For inline engines, it's usually closest to the front. For V-engines, it's typically on the bank with cylinder 1 marked.
Intermittent P0201 usually indicates a loose connection, damaged wire with intermittent contact, or connector corrosion that worsens with moisture.
No, but low battery voltage during cranking can cause temporary misfire codes, which are different from P0201's specific circuit malfunction.
Temporarily, but the code will return unless the underlying circuit issue is repaired. Resetting only clears the code, not the problem.
10. Final Thoughts
P0201 is a specific electrical circuit issue affecting cylinder 1's fuel injector, typically caused by wiring problems, connector corrosion, or injector solenoid failure. Unlike general misfire codes, P0201 points directly to an electrical malfunction rather than mechanical issues.
The key to successful P0201 repair is systematic diagnosis using tools like the iCarzone UR1000 to distinguish between wiring, injector, and ECM issues. This prevents unnecessary parts replacement and ensures the correct repair the first time.
Most P0201 cases can be resolved with wiring repairs or connector cleaning, making it a DIY-friendly repair for those comfortable with basic electrical work. For injector or ECM issues, professional assistance may be needed, but proper diagnosis still saves significant time and money.
With prompt repair and preventive maintenance like dielectric grease application and regular inspections, you can fix P0201 permanently and prevent future injector circuit issues.
Diagnose Injector Issues Like a Pro
The UR1000 provides injector actuation tests, live circuit data, and balance tests to quickly identify P0201 causes and verify repairs.
Get Your UR1000 Diagnostic Tool

