P0504 Code: Brake Switch A/B Correlation Malfunction| iCarzone UR1000
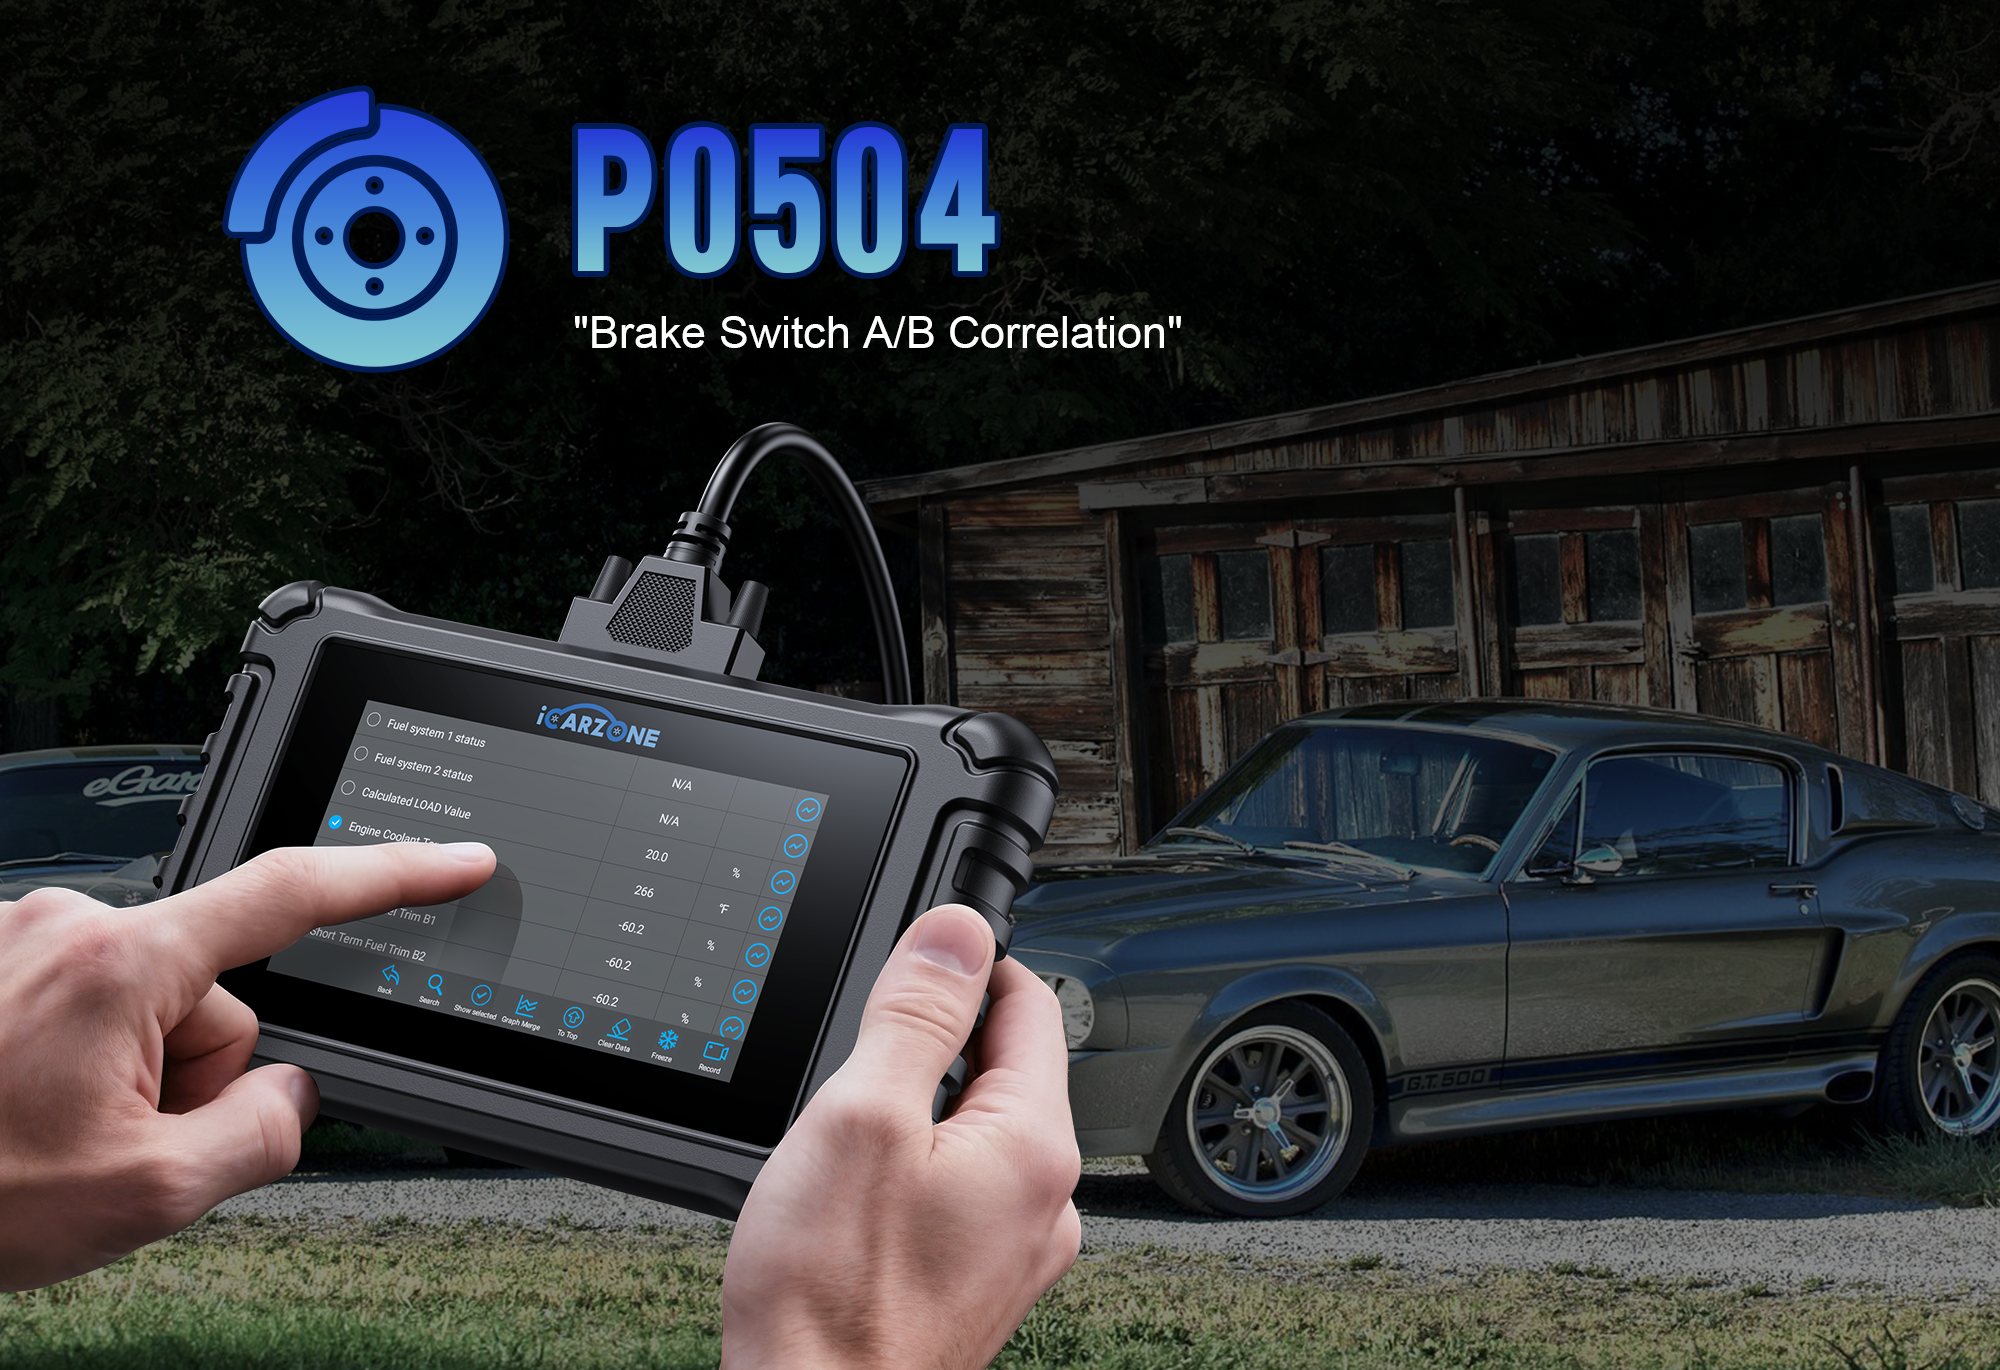
P0504 Code: Brake Switch A/B Correlation Malfunction
Fix P0504 brake switch issues with expert guidance. Learn diagnosis techniques using the iCarzone UR1000, common causes, and step-by-step repair solutions.
Diagnose P0504 With UR1000 →1. What is the P0504 Code?
The P0504 diagnostic trouble code indicates a "Brake Switch A/B Correlation" malfunction. This code specifically refers to a discrepancy between the signals from two separate circuits (A and B) within your vehicle's brake light switch or brake pedal position sensor.
Brake Switch Basics
Modern vehicles use dual-circuit brake switches to ensure safety and reliability. This redundant design serves multiple critical functions: Brake Light Activation: Turns on brake lights when pedal is pressed Transmission Interlock: Allows gear shifting out of Park when brakes are applied (automatic transmissions) Engine Management: Informs ECM to adjust idle speed and fuel delivery during braking ABS/ESC Integration: Works with safety systems to optimize braking performance Cruise Control Deactivation: Disengages cruise control when brakes are applied
How the ECM Detects P0504
The ECM continuously monitors the two independent brake switch circuits (A and B) for proper correlation: When the brake pedal is pressed, both circuits should change state simultaneously (usually from open to closed) When the pedal is released, both circuits should return to their original state The ECM expects the signals to be either both active or both inactive at any given time
P0504 is triggered when the ECM detects conflicting signals between the two circuits for a specified duration. For example, one circuit indicates the brake pedal is pressed while the other indicates it's released, or there's a timing mismatch in their state changes.
2. Why Does P0504 Happen? Common Culprits
P0504 occurs when the ECM detects inconsistent signals from the two brake switch circuits. Here's a detailed breakdown of the most common causes, based on repair data and technical service bulletins:
Brake Switch Issues (45% of Cases)
The brake switch itself is the most frequent cause of P0504 due to its mechanical and electrical complexity: Internal Switch Failure: Wear or damage to internal contacts causes one circuit to fail while the other works Partial Engagement: Switch doesn't fully activate both circuits when pedal is pressed Sticking Mechanism: Mechanical components stick, creating timing delays between circuit activation Corroded Contacts: Moisture intrusion causes electrical resistance in one circuit
Case Study: A 2019 Honda Civic with 75,000 miles presented with P0504. Testing showed the switch's "A" circuit activated 0.5 seconds later than the "B" circuit when the pedal was pressed—beyond the ECM's acceptable threshold of 0.2 seconds.Adjustment Problems (25% of Cases)
- Improper Alignment: Switch not positioned correctly relative to brake pedal arm, causing uneven activation
- Loose Mounting: Switch has shifted position, creating inconsistent engagement points
- Pedal Free Play Issues: Excessive or insufficient pedal free play affects switch activation timing
- Damaged Actuator Pin: Plastic pin that presses switch wears or breaks, causing uneven activation
Wiring and Connector Issues (20% of Cases)
- Damaged Wiring: Frayed or broken wires in one of the circuits create signal inconsistencies
- Corroded Connectors: Moisture or corrosion in the switch connector affects one circuit
- Loose Connections: Poor electrical contact in one circuit causes intermittent signal loss
- Short Circuits: Wire insulation damage causes one circuit to short to ground or power
Other Causes (10% of Cases)
- Brake Pedal Issues: Bent pedal arm or damaged bushings affect switch engagement
- ECM Software Glitches: Rare, but calibration errors in signal timing detection
- Aftermarket Modifications: Incorrectly installed brake components alter pedal travel
- Physical Damage: Impact to under-dash area damages switch or mounting bracket
3. How to Spot P0504 Symptoms
P0504 symptoms vary based on the severity of the signal mismatch, but typically affect brake-related functions and vehicle safety systems:
Primary Symptoms
- Illuminated Check Engine Light – Most reliable indicator, with P0504 stored in memory
- Brake Light Issues – Intermittent or non-functional brake lights, or lights that stay on
- Shift Interlock Problems – Difficulty shifting out of Park (automatic transmissions)
- Cruise Control Malfunction – Cruise control won't engage or disengages unexpectedly
Secondary Symptoms
- Idle Fluctuations – Engine idle speed changes unexpectedly during braking
- ABS/ESC Warning Lights – Safety system lights may illuminate due to inconsistent brake signals
- Reduced Fuel Economy – ECM may enter safe mode with suboptimal fuel settings
- Transmission Shifting Issues – Automatic transmissions may delay shifts during braking
Safety Implications
P0504 creates several safety concerns that shouldn't be ignored: Rear-end collision risk due to non-functional brake lights Inability to shift out of Park in emergency situations Unexpected cruise control disengagement Potential interference with ABS and stability control operation
4. Vehicles Most Likely to Get P0504
Certain vehicles develop P0504 more frequently due to brake switch design, mounting configuration, and usage patterns:
Domestic Models
- Ford Focus (2012-2018) – Plastic brake switch actuator prone to wear, causing signal mismatch. TSB 15-0089 addresses improved switch design.
- Chevrolet Cruze (2011-2016) – Brake switch wiring harness prone to corrosion in northern climates.
- Dodge Dart (2013-2016) – Switch adjustment issues common after brake pedal wear.
- Jeep Cherokee (2014-2020) – Dual-circuit switch prone to internal contact wear.
Import Models
- Honda Civic (2016-2021) – Brake switch mounting bracket can shift, causing alignment issues.
- Toyota Corolla (2014-2019) – Connector corrosion common in high-humidity regions.
- Volkswagen Jetta (2011-2018) – Known for brake switch mechanical failures affecting one circuit.
- Nissan Sentra (2013-2019) – Brake pedal bushing wear leads to switch misalignment.
Common Design Factors
Vehicles prone to P0504 typically share these characteristics: Plastic brake switch components that wear prematurely Brake switches mounted in positions vulnerable to moisture Complex dual-circuit designs with minimal tolerance for misalignment Brake pedal mechanisms with significant wear over time Vehicles with high mileage (brake switches typically last 60,000-100,000 miles)
5. DIY Diagnosis Steps (With UR1000)
Accurate diagnosis of P0504 requires testing both brake switch circuits and their correlation. The iCarzone UR1000 provides specialized data monitoring to identify whether the issue is in the switch, wiring, or adjustment.
Stage 1: Initial Data Collection (15 minutes)
- Connect UR1000 Scanner – Plug into OBD-II port and power on. Select your vehicle make/model/year.
- Read Complete DTC History – Record P0504 and any related codes (especially brake system codes).
- Check Freeze Frame Data – Note conditions when code was set (vehicle speed, pedal position).
- Monitor Live Data – With engine running, observe brake switch parameters: Brake Switch A Status (Active/Inactive) Brake Switch B Status (Active/Inactive) Brake Pedal Position (%) Cruise Control Status
Stage 2: Functional Testing (20 minutes)
- Brake Switch Signal Test: With UR1000 displaying live brake switch data, press and release brake pedal slowly Both Switch A and Switch B should change state simultaneously (within 0.2 seconds) Note any delay between the two signals or inconsistent behavior Test at various pedal pressures to check for intermittent issues
- Brake Light Verification: Have an assistant observe brake lights while you press pedal Check for proper operation: lights should illuminate immediately and fully Look for flickering or delayed activation that matches scanner data
- Related Systems Test: Test shift interlock: verify you can shift out of Park only when brake is pressed Test cruise control: check engagement and proper disengagement with brake Note any malfunctions that correlate with brake switch data
Stage 3: Physical Inspection (30 minutes)
- Brake Switch Location: Locate brake switch (usually mounted on brake pedal arm under dashboard) Identify mounting bolts, adjustment mechanism, and electrical connector
- Visual Inspection: Check for physical damage to switch and mounting bracket Inspect connector for corrosion, bent pins, or damage Verify switch alignment with pedal arm actuator Check for wiring damage near switch and along harness route
- Mechanical Testing: With key off, press brake pedal and listen for switch clicking sound Feel for smooth pedal movement without binding Check for excessive pedal free play (consult vehicle specifications) Verify switch returns to rest position when pedal is released
- Electrical Testing: Disconnect switch connector (note position of wires) Use multimeter to check continuity of both circuits in pressed and released positions Compare readings to manufacturer specifications
| Condition | UR1000 Data Indicators | Physical Inspection Findings |
|---|---|---|
| Switch Internal Failure | One circuit always active/inactive, permanent mismatch | Multimeter shows open/short in one circuit |
| Adjustment Issues | Timing delay between circuits, intermittent mismatch | Switch misaligned, actuator pin worn, loose mounting |
| Wiring Problems | Intermittent signal loss in one circuit, random mismatch | Damaged wires, corrosion, loose connections |
| Pedal Issues | Inconsistent timing between presses, varying delay | Excessive free play, binding movement, worn bushings |
6. How to Fix P0504: Step-by-Step Solutions
The appropriate repair method depends on your diagnosis findings. Below are detailed procedures for each common fix:
Brake Switch Adjustment
For alignment issues causing timing mismatches (25% of P0504 cases):
- Safety Preparation: Set parking brake and block wheels Ensure vehicle is on level ground Gather supplies: socket set, screwdriver, flashlight
- Locate Adjustment Mechanism: Identify brake switch under dashboard, mounted on pedal arm Locate adjustment screws or sliding mounting bracket Note current position before making changes (take photo)
- Adjust Position: Loosen mounting screws (don't fully remove) Press brake pedal slightly to access switch Adjust switch position so actuator pin is fully depressed when pedal is pressed Ensure 1-2mm gap between switch and actuator when pedal is released
- Secure and Test: Tighten mounting screws while holding switch in correct position Test brake pedal operation for smooth movement Use UR1000 to verify both circuits activate simultaneously Check brake light operation
- Fine Tuning: If mismatch persists, make small incremental adjustments Retest with UR1000 after each adjustment Verify no switch binding occurs during full pedal travel
Brake Switch Replacement
For internal switch failures (45% of P0504 cases):
- Preparation: Disconnect negative battery terminal Locate brake switch under dashboard Gather supplies: new switch, socket set, screwdriver, dielectric grease
- Switch Removal: Disconnect electrical connector (press tab and pull straight back) Note switch orientation for reinstallation (take photo) Remove mounting screws or release locking tab Remove switch from pedal assembly
- New Switch Installation: Compare new switch to old one to ensure compatibility Position new switch in mounting bracket Hand-tighten mounting screws (don't fully tighten) Adjust position according to vehicle specifications Fully tighten mounting screws
- Electrical Connection: Apply dielectric grease to connector terminals Reconnect electrical connector until it clicks into place Reconnect battery terminal
- Verification: Test brake lights for proper operation Use UR1000 to check switch signal correlation Test shift interlock and cruise control functions Clear codes and test drive to confirm repair
Wiring and Connector Repair
For damaged wiring or corroded connectors (20% of P0504 cases):
- Identify Problem Area using visual inspection and multimeter testing
- Connector Repair: Disconnect battery and connector Clean corrosion with electrical contact cleaner and wire brush Repair bent pins using small screwdriver or pin straightener Replace damaged terminals if necessary Apply dielectric grease before reconnecting
- Wiring Repair: Cut damaged section of wire with wire cutters Strip 1/4 inch insulation from both ends Connect using heat-shrink butt connectors Apply heat to shrink tubing Secure repaired area with electrical tape Test continuity with multimeter
- Protection: Secure repaired wiring to prevent movement Use wire loom to protect against future damage Ensure wiring doesn't interfere with pedal operation
Brake Pedal Adjustment
For pedal issues affecting switch operation:
- Check Pedal Free Play: Measure free play (typically 1-2 inches before resistance is felt) Compare to vehicle specifications
- Adjust Pedal Height (if adjustable): Locate pedal height adjustment nut under dashboard Turn nut to adjust height according to specifications Retighten lock nut after adjustment
- Bushing Replacement (if worn): Remove pedal assembly mounting bolts Replace worn bushings with OEM replacements Reinstall pedal assembly and torque bolts to specification Readjust brake switch after pedal repair
7. P0504 Repair Costs & Pro Tips
Costs vary based on the repair method and whether you perform the work yourself:
DIY Repair Costs
-
Brake Switch Adjustment: $0-10
Includes: Basic tools if needed, dielectric grease -
Connector Cleaning/Repair: $5-20
Includes: Contact cleaner, dielectric grease, terminals -
Brake Switch Replacement: $20-60
Includes: Aftermarket brake switch ($15-50), hardware -
Wiring Repair: $10-30
Includes: Wire, connectors, heat-shrink tubing
Professional Repair Costs
-
Brake Switch Adjustment (Pro): $80-150
Labor: 0.5-1 hour ($80-150), no parts cost -
Brake Switch Replacement (Pro): $150-250
Labor: 0.5-1 hour ($80-150), OEM switch: $50-120 -
Wiring/Connector Repair (Pro): $180-300
Labor: 1-2 hours ($100-200), parts: $50-100 -
Diagnostic Fee: $80-150
Applied toward repair cost at most shops
Expert Money-Saving Tips
- Try adjustment first – 25% of P0504 cases are fixed with simple adjustment, costing nothing but time.
- Check for TSBs – Many manufacturers have technical service bulletins for P0504 that may cover repairs under warranty.
- Use OEM or premium switches – Cheap aftermarket switches often have shorter lifespans and looser tolerances.
- Combine with brake service – If due for brake work, have switch checked/adjusted at the same time to save on labor.
- Verify with UR1000 – Confirm repair success with live data before assuming the problem is fixed.
- Prevent future issues – Apply dielectric grease to connectors during repair to prevent corrosion.
8. How to Prevent P0504 From Coming Back
Preventing P0504 requires maintaining proper brake switch operation and protecting electrical components:
Regular Inspection Schedule
- Visual Checks – Every 30,000 miles: Inspect brake switch mounting and alignment Check brake pedal free play Verify brake light operation (have assistant help)
- Functional Testing – Every 60,000 miles: Test shift interlock operation Verify cruise control disengagement with brake Use UR1000 to check switch signal correlation
- Electrical Maintenance – Every 12 months: Inspect switch connector for corrosion Clean and apply dielectric grease to connectors Check wiring for damage from pedal movement
Protective Measures
- Connector Protection: Apply dielectric grease to brake switch connector annually Ensure connector is fully seated and locked Protect from water intrusion (avoid car washes directed under dashboard)
- Switch Alignment: Check adjustment after any brake service Inspect mounting screws for tightness periodically Note any changes in pedal feel that might indicate misalignment
- Pedal Care: Avoid resting foot on brake pedal while driving Don't use excessive force when pressing brakes Address unusual pedal feel promptly
Maintenance Tools & Products
- Electrical Maintenance: Electrical contact cleaner Dielectric grease (silicone-based) Small wire brush for cleaning connectors
- Adjustment Tools: Torx and socket sets for switch mounting Flashlight with flexible neck for under-dash visibility UR1000 scanner for signal verification
- Preventive Products: Protective wire loom for vulnerable harness sections Anti-corrosion spray for under-dash electrical components High-temperature grease for pedal bushings
Monitoring with UR1000
Regularly check these parameters to catch issues before they trigger P0504: Brake Switch A and B status during pedal operation Timing between switch activations (should be simultaneous) Consistency of signals during multiple pedal presses Switch return to inactive state when pedal is released
9. P0504 FAQs
You can drive short distances, but it's not recommended. P0504 affects brake lights and safety systems, increasing accident risk. Fix promptly.
No, P0504 affects electrical functions (lights, shift lock) but not the mechanical braking system itself. Your brakes will still stop the vehicle.
Unlikely. While low voltage can cause electrical issues, P0504 specifically indicates a signal mismatch between two circuits, not general electrical problems.
Brake switches typically last 60,000-100,000 miles. Lifespan depends on usage patterns and environmental conditions.
Possibly. Brake switches are often covered under basic or safety system warranties for 3-5 years/36,000-60,000 miles.
Yes. Moisture can cause corrosion in connectors, creating resistance in one circuit. Cold weather can also affect switch mechanics.
Temporarily, but the code will return unless the underlying issue is fixed. The ECM will detect the signal mismatch again during normal operation.
No directly, but low brake fluid or hydraulic issues can cause changes in pedal feel and position, which might affect switch alignment indirectly.
10. Final Thoughts
P0504 indicates a signal mismatch between the two circuits of your vehicle's brake switch, a critical safety component that controls brake lights, shift interlock, and other important functions. This code is most commonly caused by brake switch failure, misalignment, or wiring issues—problems that are generally repairable without extensive mechanical experience.
The key to successful P0504 repair is accurate diagnosis using tools like the iCarzone UR1000 to identify whether the issue is mechanical (adjustment), electrical (wiring), or component failure (switch replacement). This targeted approach prevents unnecessary parts replacement and ensures the correct repair the first time.
Most P0504 cases can be resolved with either a simple adjustment or brake switch replacement, making it one of the more accessible DIY repairs. Given the safety implications of brake light and shift interlock issues, addressing P0504 promptly is essential for both legal compliance and accident prevention.
With proper diagnosis, quality parts, and regular preventive maintenance, you can fix P0504 permanently and ensure reliable operation of your vehicle's critical brake-related electrical systems.
Diagnose Brake Switch Issues Like a Pro
The UR1000 provides real-time monitoring of both brake switch circuits, making it easy to identify P0504 causes and verify repairs.
Get Your UR1000 Diagnostic Tool